

In my previous article, we discussed the core concepts of ReleaseOps, why it’s needed, and how it fits into the overall development process in ServiceNow. If you’re new to the concept, I’d strongly recommend going through that first to understand the fundamentals before jumping into the setup.
This article focuses on the practical side – how to actually set up ReleaseOps in your ServiceNow instances. The goal here is not just to follow steps blindly, but to understand why each step is important, so that you don’t run into issues later (which is very common with ReleaseOps).
Understanding the Terminology
Before we start with the actual configuration, let’s first understand a few important concepts related to ReleaseOps. Having clarity on these basics will help you understand why certain configurations are needed and make the overall setup process much easier to follow.
Multi-Instance Management Framework (MIM/MIF)
Before ReleaseOps can coordinate deployments, the ServiceNow instances first need to securely communicate and trust each other. This is done using the Multi-Instance Management Framework (MIM/MIF).
You can think of it like this:
- PROD = Controller / Manager.
- DEV and TEST = Managed Instances.
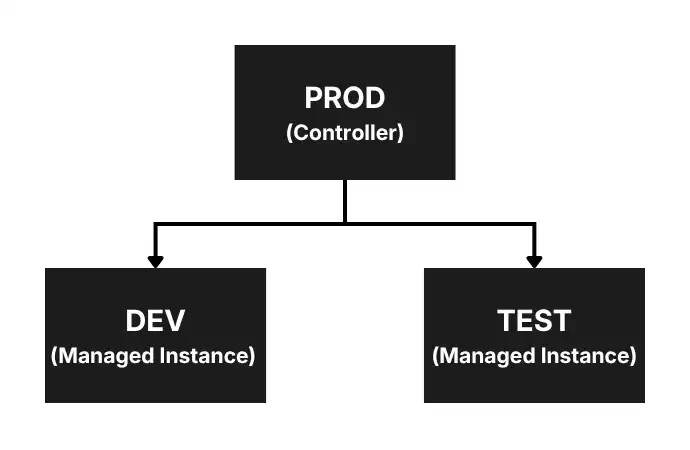
PROD sends a management request to DEV and TEST, and those instances approve it. It is similar to accepting a friend request, just like on Facebook. Once this “handshake” is completed, the instances trust each other, and ReleaseOps can securely coordinate deployments across environments.
In most enterprise setups, PROD typically acts as the controller instance because it centrally manages the deployment process.
1. Deployment Instances
These are the ServiceNow instances that will participate in the ReleaseOps journey. In our example and setup, it will be, for example: DEV, TEST, and PROD.
2. Update Sources
Update Sources (also known as Remote Instances) are the traditional ServiceNow mechanism used to move update sets from one instance to another.
Even though ReleaseOps manages and coordinates the deployment process, the actual movement of update sets between environments still happens through Update Sources.
3. Deployment Requests
Deployment Requests are the records used to initiate and track deployments within ReleaseOps.
In simple terms, whenever a developer wants to move an update set through the pipeline, a Deployment Request is created. It acts as the trigger point for the deployment process.
| Component | Purpose |
| Multi-Instance Management (MIM/MIF) | Secure communication between instances. |
| Deployment Instances | Defines participating environments. |
| Update Sources | Actually moves update sets. |
| Deployment Requests | Deployment Requests are records that trigger and track the movement of changes through the ReleaseOps pipeline. |
Step 0: Prerequisites
ReleaseOps is still not available in ServiceNow PDIs (Personal Developer Instances), and you will have to reply to company or vendor ServiceNow instances. You should have:
- At least three instances (DEV, TEST, PROD recommended).
- Admin access in all instances.
Step 1: Install ReleaseOps Plugin
ReleaseOps works as a distributed system across instances. So, you will have to install the ReleaseOps plugin in all instances of ServiceNow individually.
In each instance (DEV, TEST, PROD):
- Go to Application Navigator, search for Plugins, and click on that.
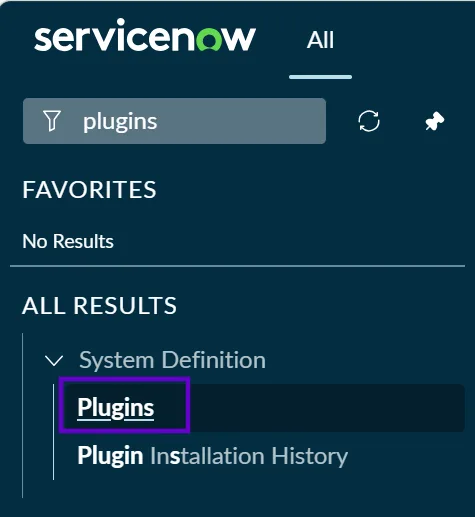
- Search for ReleaseOps (
sn_releaseops).
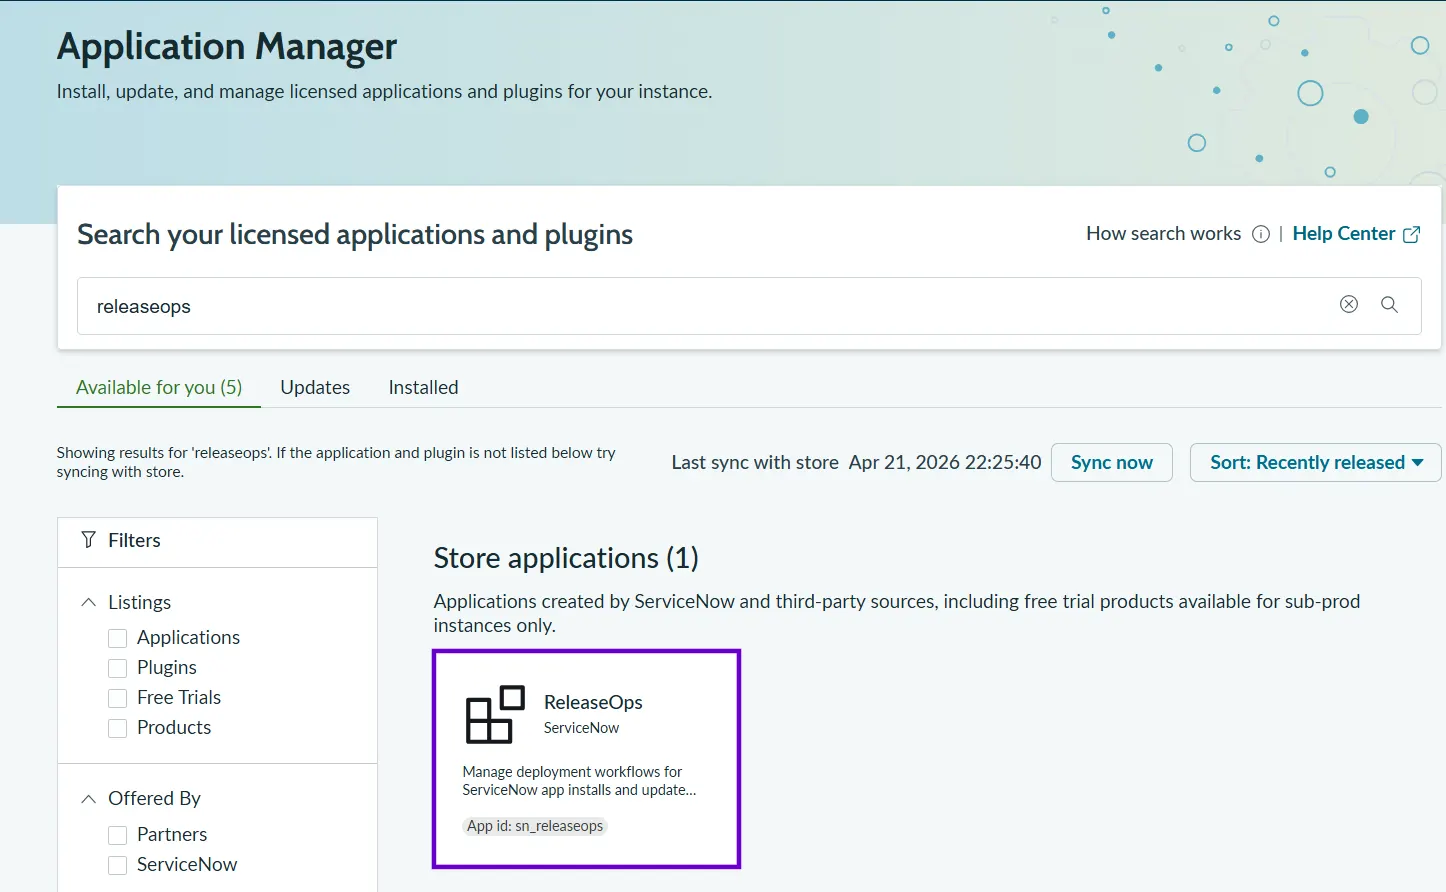
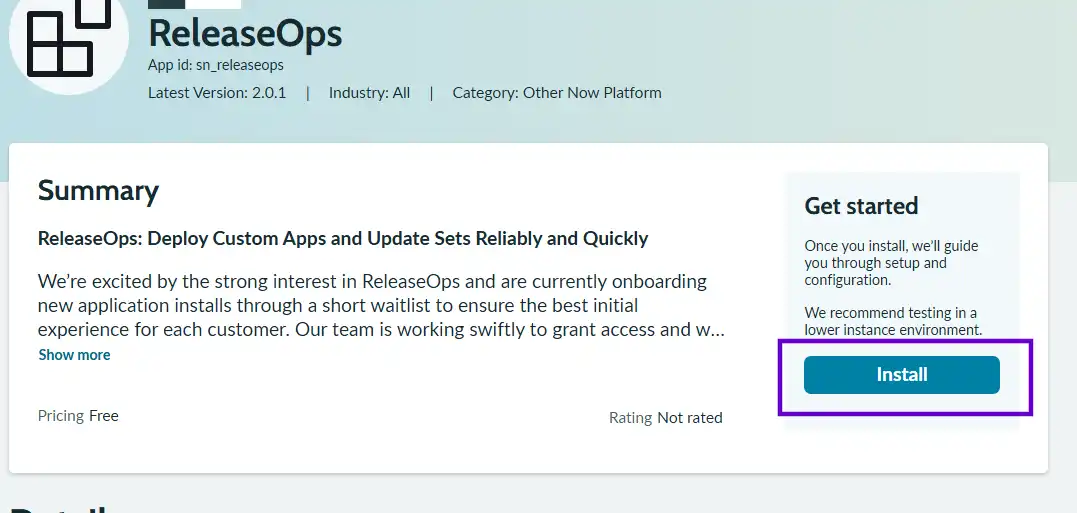
- Click on “Install” to initiate the installation on all the ServiceNow instances.
Step 2: Configure the ReleaseOps Plugin
Now there are two ways to configure ReleaseOps in your environment:
- Using Guided Setup
- Manual Setup
Both approaches are fairly straightforward and convenient in their own way. Guided Setup is useful if you want ServiceNow to handle most of the configuration steps for you.
Personally, I chose the manual setup approach because it gave me a better understanding of what is happening behind the scenes. It also felt a little more hands-on and developer-oriented, especially while understanding instance mappings, update sources, pipelines, and controller configuration.
Here, we will follow the manual setup approach, but you can use Guided Setup as well by reading this article, as all of the configurations are the same.
For your Guided Setup: Go to your Production (Controller) instance, navigate to ReleaseOps → ReleaseOps Guided Setup, and follow the instructions.
Step 3: Configure Multi-Instance Management Framework (MIF/MIM) in PROD Environment
This is an essential step to building a relationship and trust between SN instances so that communication can happen between all the instances. PROD environment is usually the “Controller”, so we will login into the PROD environment and from Application Navigator navigate to :
- Multi-Instance Management → Managed Instances.
- Click on Managed Instances.
- On the top right, click on “Add managed instances.”

- After clicking, you will see a pop-up with all your SN instances, like DEV and TEST. Select the ones that you want to choose as DEV and TEST, and then click on “Send Requests.”

- Once the request is sent, you will see a confirmation message and pending requests.


Step 4: Approve Requests in DEV and TEST Environments
Once you have sent the request from the PROD environment, you will login into DEV and TEST environments one by one and accept those requests. To approve the requests, follow the steps:
- Navigate to Multi-Instance Management → Manager Instances in DEV and TEST environments.
- You will see here an Approval request. Open the request and approve it by clicking on “Approve Manager Request.”


Step 5: Configure Deployment Instances
This step is also very important as you have to declare here which all environments are participating in the ReleaseOps and what role each environment will play, such as which is the DEV or TEST environment.
- Log back in to the PROD instance.
- Navigate to ReleaseOps → Deployment Instances.
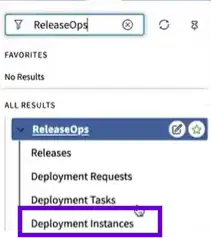
- Click on “New” in the top right to create individual records for DEV, TEST, and PROD. You will have to basically create three records here, and each environment should refer to the corresponding Instance Type as per the screenshot below.


Step 6: Configure Pipelines
Pipelines define the journey your update sets will follow, like DEV → TEST → PROD. Without a pipeline, ServiceNow will not be able to determine the flow of your update sets.
- Navigate to ReleaseOps → Pipelines (PROD).

- You will see that there are two OOB pipelines. We will go ahead and configure both of these. Click on any one of them, and then in the related list click on “Pipeline Instances” and click on “New.”


- Select the “Deployment Instance” as your Test instance and ensure the “Label” is selected as “TEST.”

Labels are important because playbooks use these labels instead of directly referencing instance names. This abstraction becomes useful later if you introduce other environments:
- QA
- Stage
- Pre-PROD
- Repeat the previous two steps for the second pipeline.
Step 7: Configure Update Sources
Currently, Update Sources are still handling the movement of the update sets, and even in ReleaseOps they are handling the update sets deployment, but in an automated way. So, we still need to ensure that Update Sources are defined correctly in all the environments.
Configure Update Source in PROD
- Navigate to System Update Sets → Update Sources in PROD.

- Create a new Update Source for TEST instance from here.

- Stay in the PROD environment and repeat the above steps to add another Update Source for the DEV environment.

Configure Update Sources in TEST
Follow the above steps and create only one Update Source in the TEST environment and connect it with the DEV environment.

One interesting thing here is that PROD directly connects to DEV for Deployment Analyzer functionality, which is slightly different from traditional update set movement flows.
Step 8: Configure the Deployment Controller Property in the DEV Environment
This step ensures that we declare in the DEV instance who the boss (Controller) is. Without this, the DEV environment will never know where to create the Deployment Requests (DR).
- Navigate to System Properties by typing
sys_properties.listin the Application Navigator in the DEV environment. - Search for “
sn_releaseops.deployment_controller” property.

- Open the system property and in the “Value” field, give the URL of your PROD instance.

Now the ReleaseOps setup is finished, and you should be able to easily move your Deployment Requests from DEV → TEST → PROD.
Final Thoughts
Setting up ReleaseOps is honestly not very difficult once you understand the relationships between:
- MIF
- Deployment Instances
- Pipelines
- Update Sources
The real challenge is usually not the configuration itself – it’s understanding how all the pieces connect.
Once configured correctly, ReleaseOps gives you a much cleaner and more controlled deployment experience compared to traditional manual update set movement. And while the product is still evolving and definitely has some rough edges today, it’s very clear that ServiceNow is investing heavily in this direction.